Trezor Review
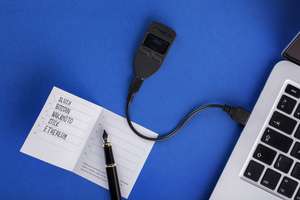
A hardware wallet is a crucial investment for any cryptocurrency enthusiast who cares about protecting their investment. For the average person there is no more secure way of keeping their coins safe than using one. But which hardware wallet? There are many models on the market, and they vary in both price and the number of features offered.
In this review we will focus on the Trezor hardware wallet. SatoshiLabs, the inventor the Trezor, is a five year old company with a good reputation in the cryptocurrency space. Although a five-year-old company would often be considered immature, as Bitcoin has only been around for ten years its tenure is impressive. The Trezor has been a favorite of such notables as Andreas M. Antonopoulos and in this review we'll see why that's the case, and how to use it if you purchase one.
Table of Contents
- Trezor Prices
- Connecting the Trezor to Your Computer
- Setting a PIN
- Installing the Firmware
- Creating a New Wallet
- Creating a Seed Phrase on the Trezor
- Making Payments with a Trezor
- Using a Trezor Wallet with an Android Phone
- Using a Trezor With Alternative Wallets
- Coins that are Supported by Trezor
- It's Time to Protect Your Crypto
Trezor Prices
Model T
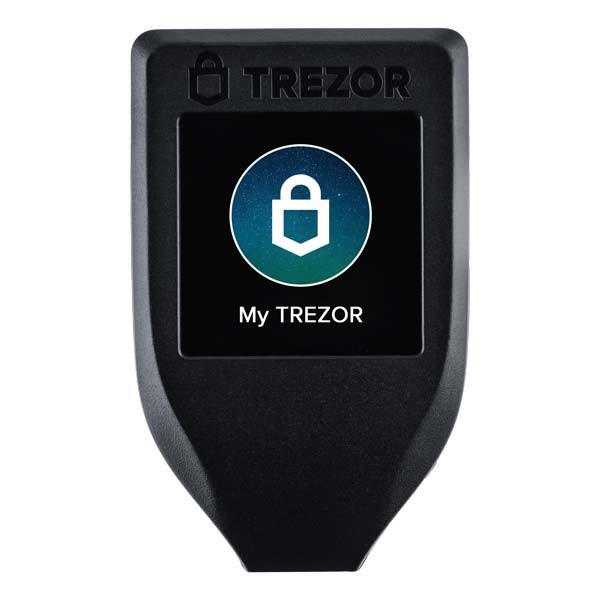
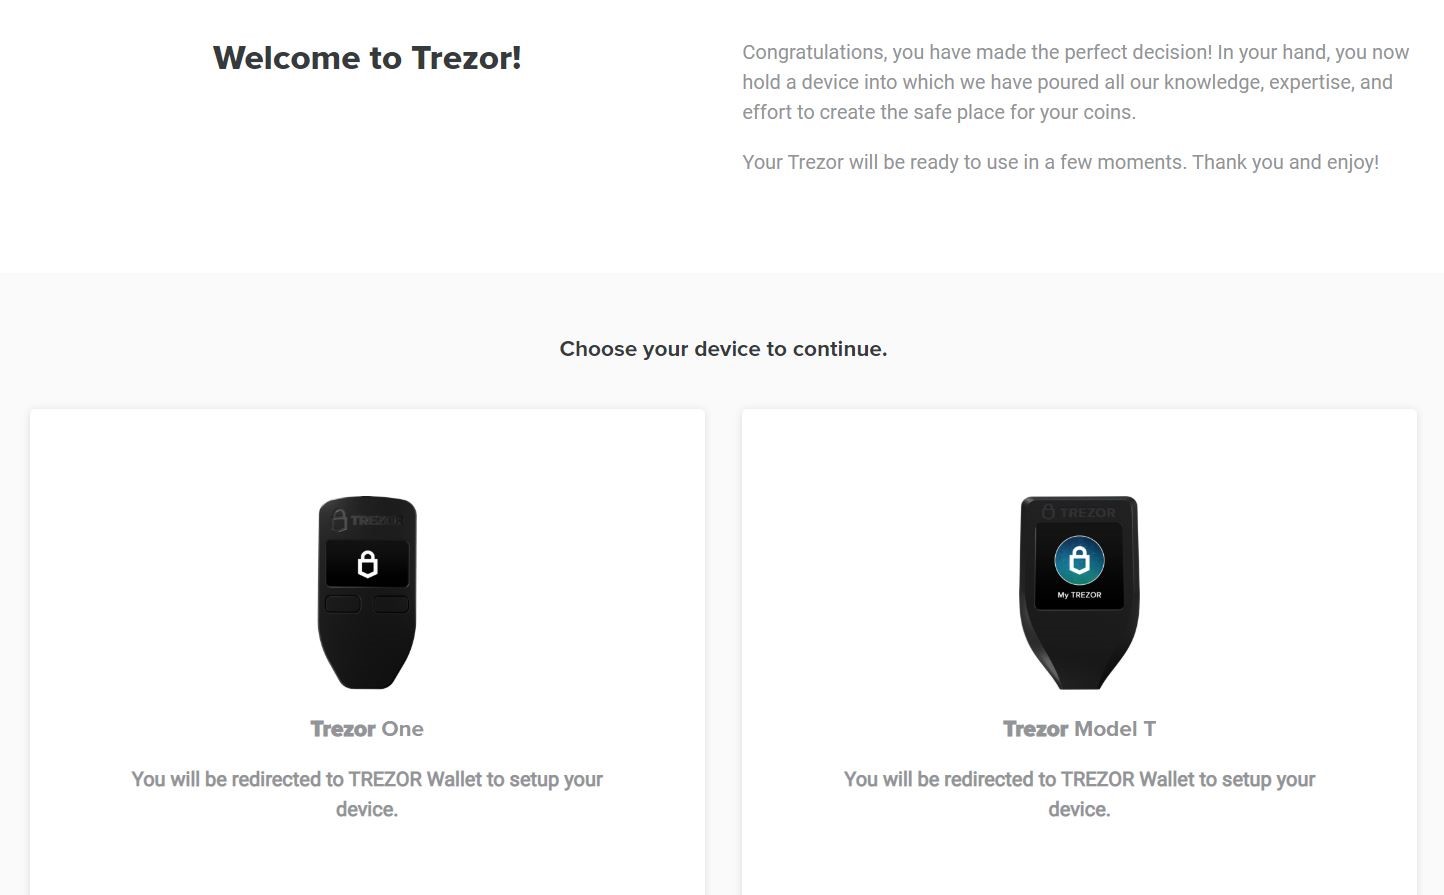
There are several Trezor models. The most expensive, at 149 Euros, is the Trezor Model T. It's one of the few hardware wallets sold with a touchscreen. Most other models rely on a pair of buttons for input. If having a touchscreen is desirable, and it definitely does allow for faster inputting, than the Model T may be worth its price.
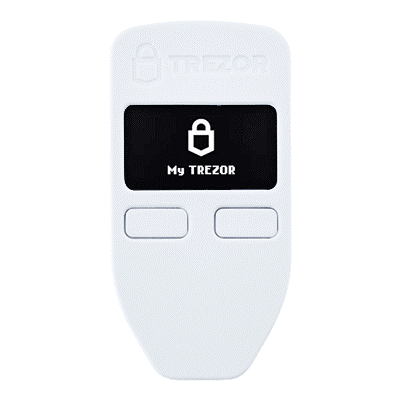
Trezor ONE
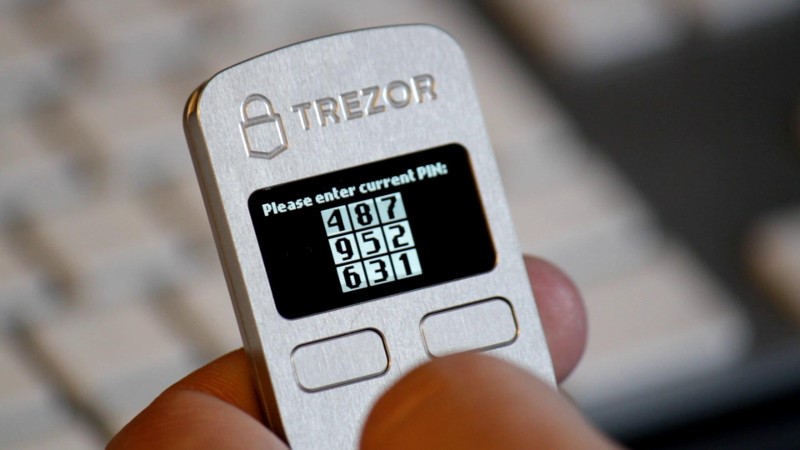
At 69 Euros the Trezor ONE is less than half the price of the Model T. While the savings don't affect security, the Trezor ONE and the Trezor Model T both use a similar encryption scheme, it does result in a slightly more clunky user experience. PINs and backup seeds must be entered with the help of just two buttons. Nonetheless, since the basic functionality is nearly identical to the Model T, the Trezor ONE is probably the right choice for most investors.
Connecting the Trezor to Your Computer
When you get your Trezor you must choose how you will access it. There are two ways to do so via your computer (scroll down for a guide on accessing your Trezor via an Android device). One method is to access it by through Trezor's website and the other is via Trezor Bridge, an installed program.
WebUSB
The WebUSB option allows a user to access their funds through the Trezor website. This is the quickest way to use a Trezor, however, it's only available on Google Chrome or Brave and it's not as secure as downloading Trezor Bridge.
To access your Trezor via the website, simply go to Trezor.io and click on the wallet tab. Plug in your Trezor and the connection will be detected automatically.
Trezor Bridge
As it's the most secure option, Trezor recommends that their users download the Trezor Bridge program. Unlike the WebUSB option, Trezor bridge works with both Chrome or Brave and Firefox. To install the program simply follow the onscreen prompts.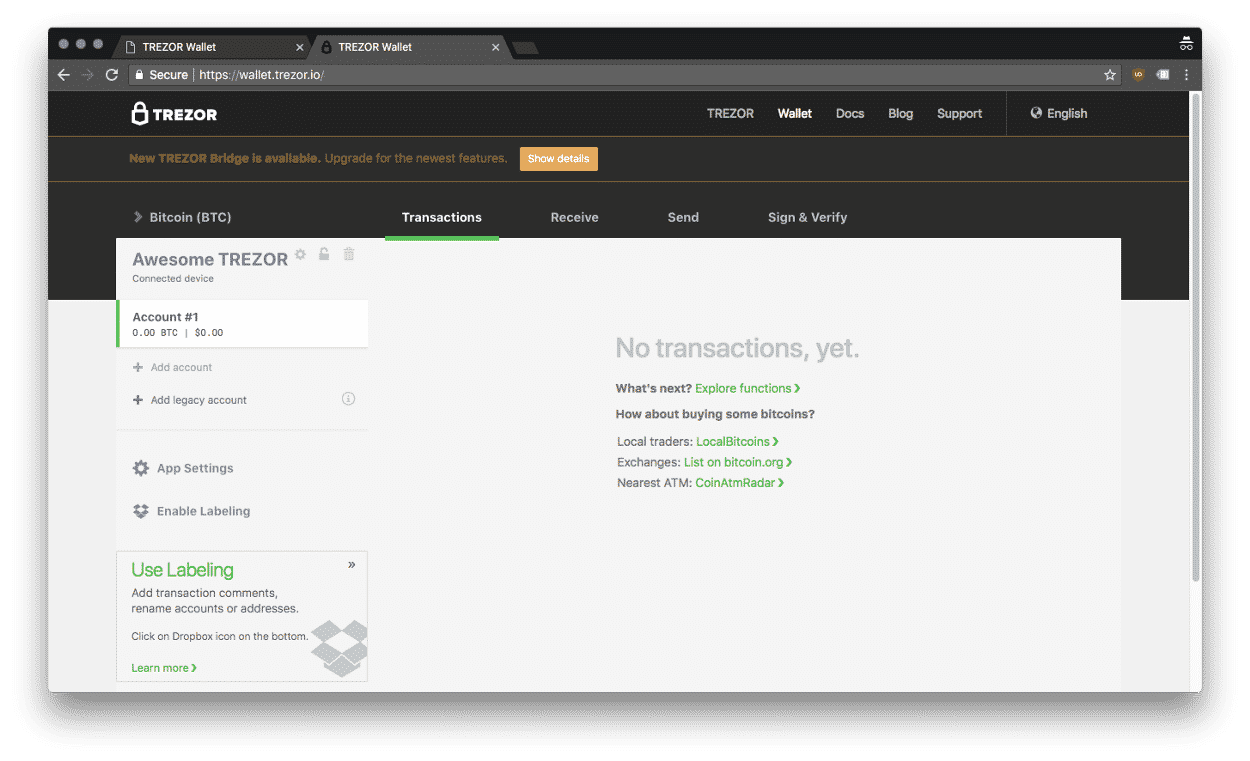
Setting a PIN
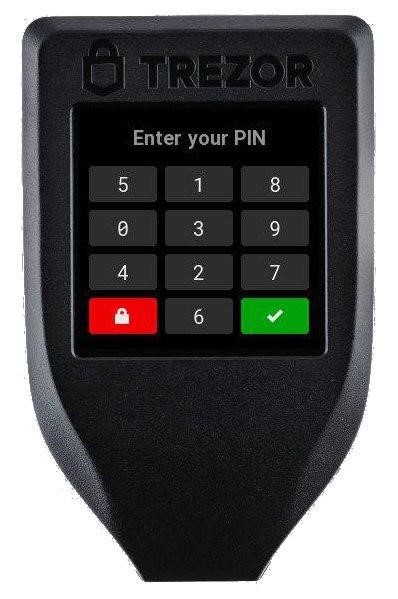
After you've opened the WebUSB program or Trezor Bridge you will be prompted to enter a pin. There are several steps every investor should follow in order to ensure their funds are safe. The first is choosing a good PIN. When initializing their device (more on this in the next section) a user should not choose an easily guessed PIN like their birthday or 9876. Users should, however, be sure to remember it. On the Trezor each time an incorrect PIN is entered, the time until a new PIN can be entered increases by a power of two. Thirty guesses would take seventeen years. For more information about PIN security, please see: 3 Simple Rules for a Good PIN.
Installing the Firmware
Upon connecting the Trezor to your computer you will be prompted to install the firmware for the Trezor. By forcing the user to install the firmware, Trezor ensures that the latest version is always installed upon initiation. To install the firmware simply click on the "install firmware" button. The next step is to create a wallet.Creating a New Wallet
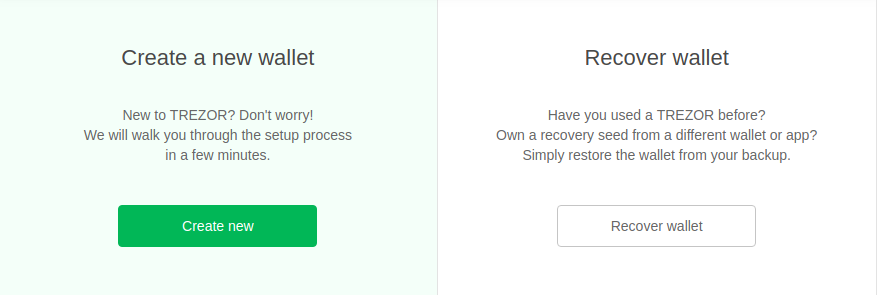
Once you've installed firmware on your Trezor you'll have a chance to generate a wallet. At this point there are two options.- Recover a previous wallet. If you have an existing seed phrase and would like to recover a wallet you can do so now (see the Trezor guide on wallet recovery).
- Create a new wallet.
Creating a Seed Phrase on the Trezor
To create a seed (after creating a new wallet), simply click "Create a backup in three minutes." It's important to write down the seed phrase as the device displays it as the Trezor will never again display the seed phrase.

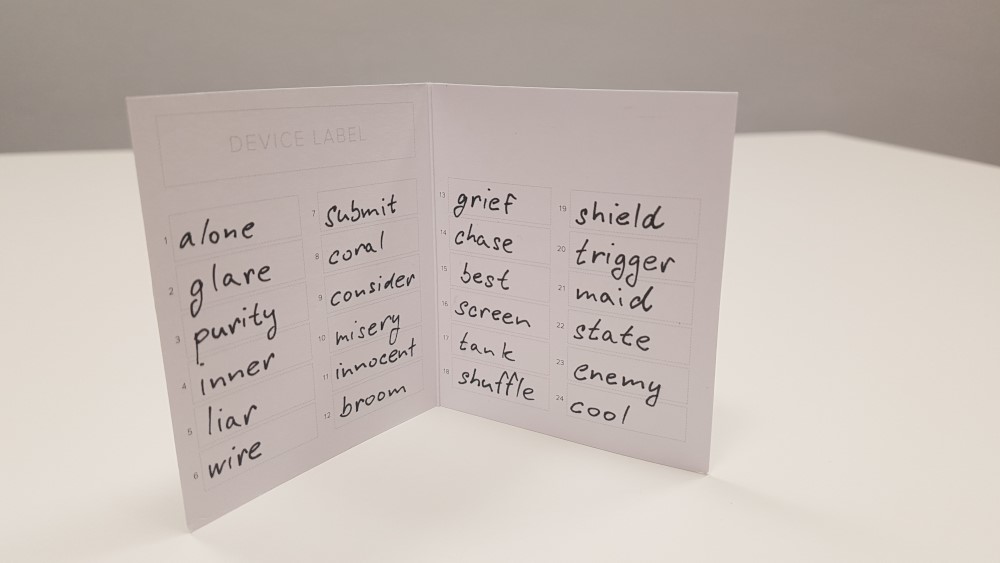
Write down the seed phrase here and never post it online.
Protecting Your Seed Phrase
A seed phrase is a string of 12 or 24 letters (the Trezor ONE generates a 24 word seed phrase while the Model T generates a 12 word seed phrase) which can be used to restore an investor's funds in the event that they lose their Trezor. While that's essential for redundancy, that same seed phrase can also be used to steal your coins. The following guidelines will be helpful to help protect funds.- Never, ever store a seed phrase anywhere online. Not in an email, a password protected RAR file or on Google Drive. Store the seed phrase in a physical location.
- Make it redundant, copy the seed phrase and keep a backup in an alternate location in case of fire.
- Don't trust bank vaults. Banks are not responsible for the contents of the boxes and in the event of theft there is very little recourse available to vault owners.
Making Payments with a Trezor
When sending a payment with the Trezor there are two options. The first is to use a QR code. At the far right of the address bar is a QR code icon. Click this and then hold the QR code up to your computer's webcam. The details will fill in automatically. Alternatively, users can manually enter the address. In either case the amount of crypto to be sent must be entered. The exchange rate for that crypto (how much it's worth in dollars) is based on an API connection to CoinMarketCap.
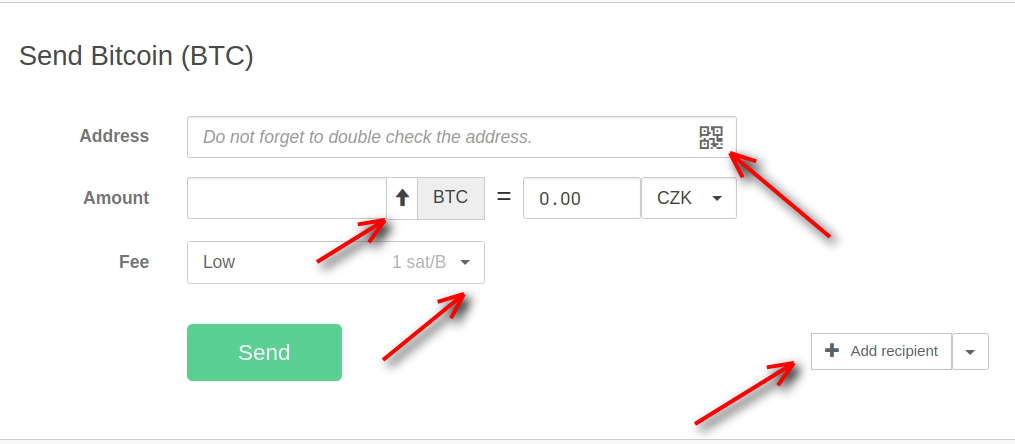
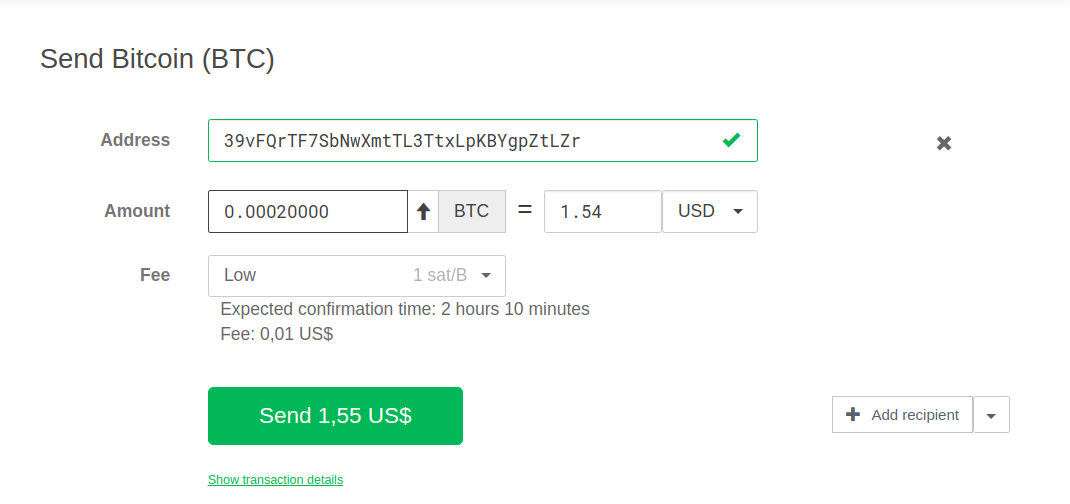
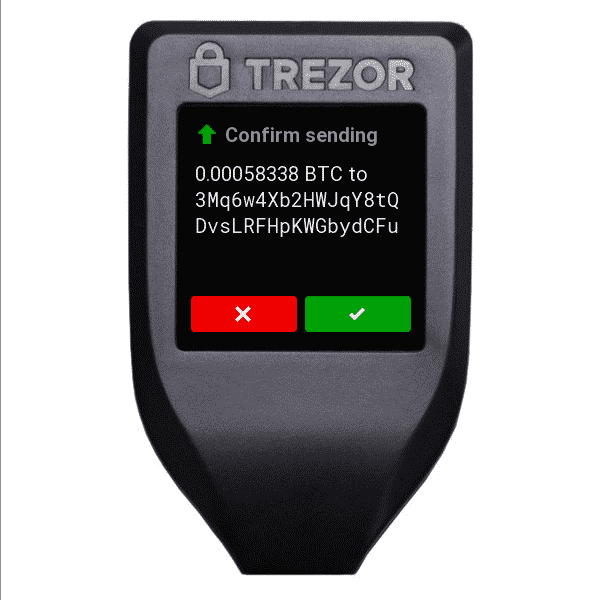
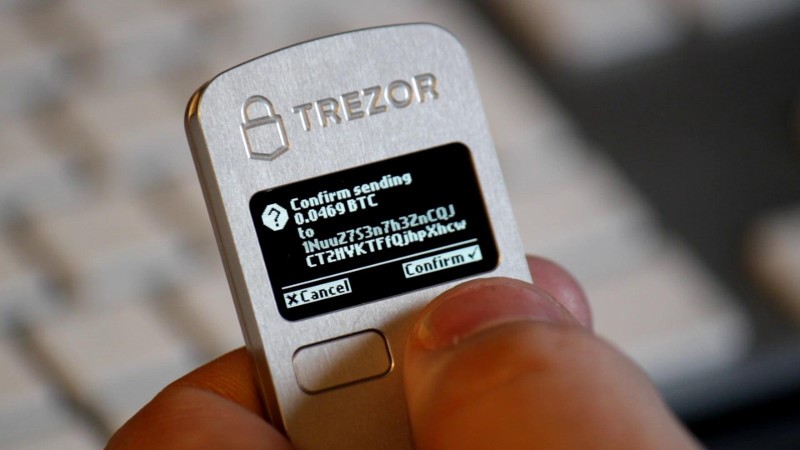
The add recipient button allows a user to send funds to multiple addresses while only making a single transaction. This is a simple way to save on TX fees. Once a user clicks send their Trezor will ask them to confirm the transaction. This is an important safety feature as it guarantees that funds can only be sent by someone with physical access to the Trezor device. While this safety feature doesn't protect against phishing attacks or incorrectly entered addresses, it does ensure that funds cannot be sent without holding the device in one's hand. Before confirming the transaction it's important to doublecheck the address and amount. If everything is correct, press the button on the Trezor to confirm the transaction.
Using a Trezor Wallet with an Android Phone
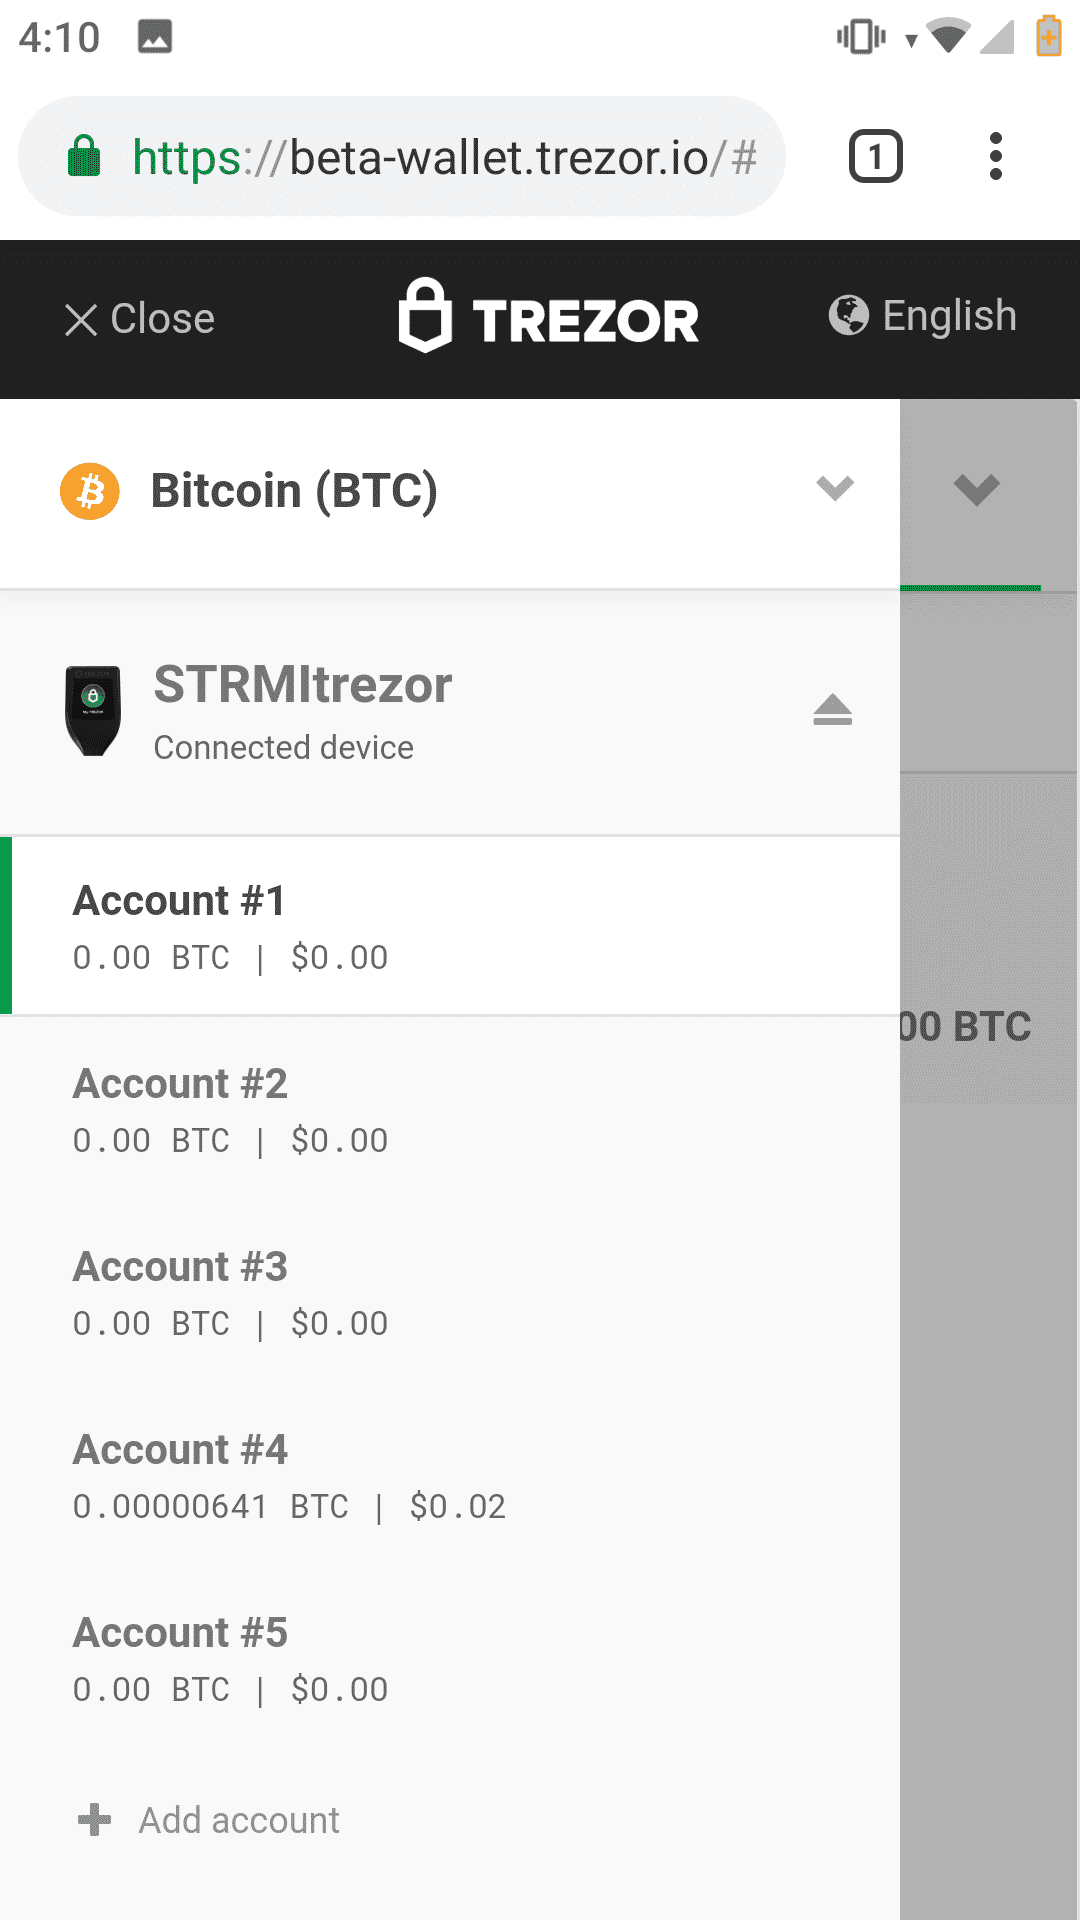
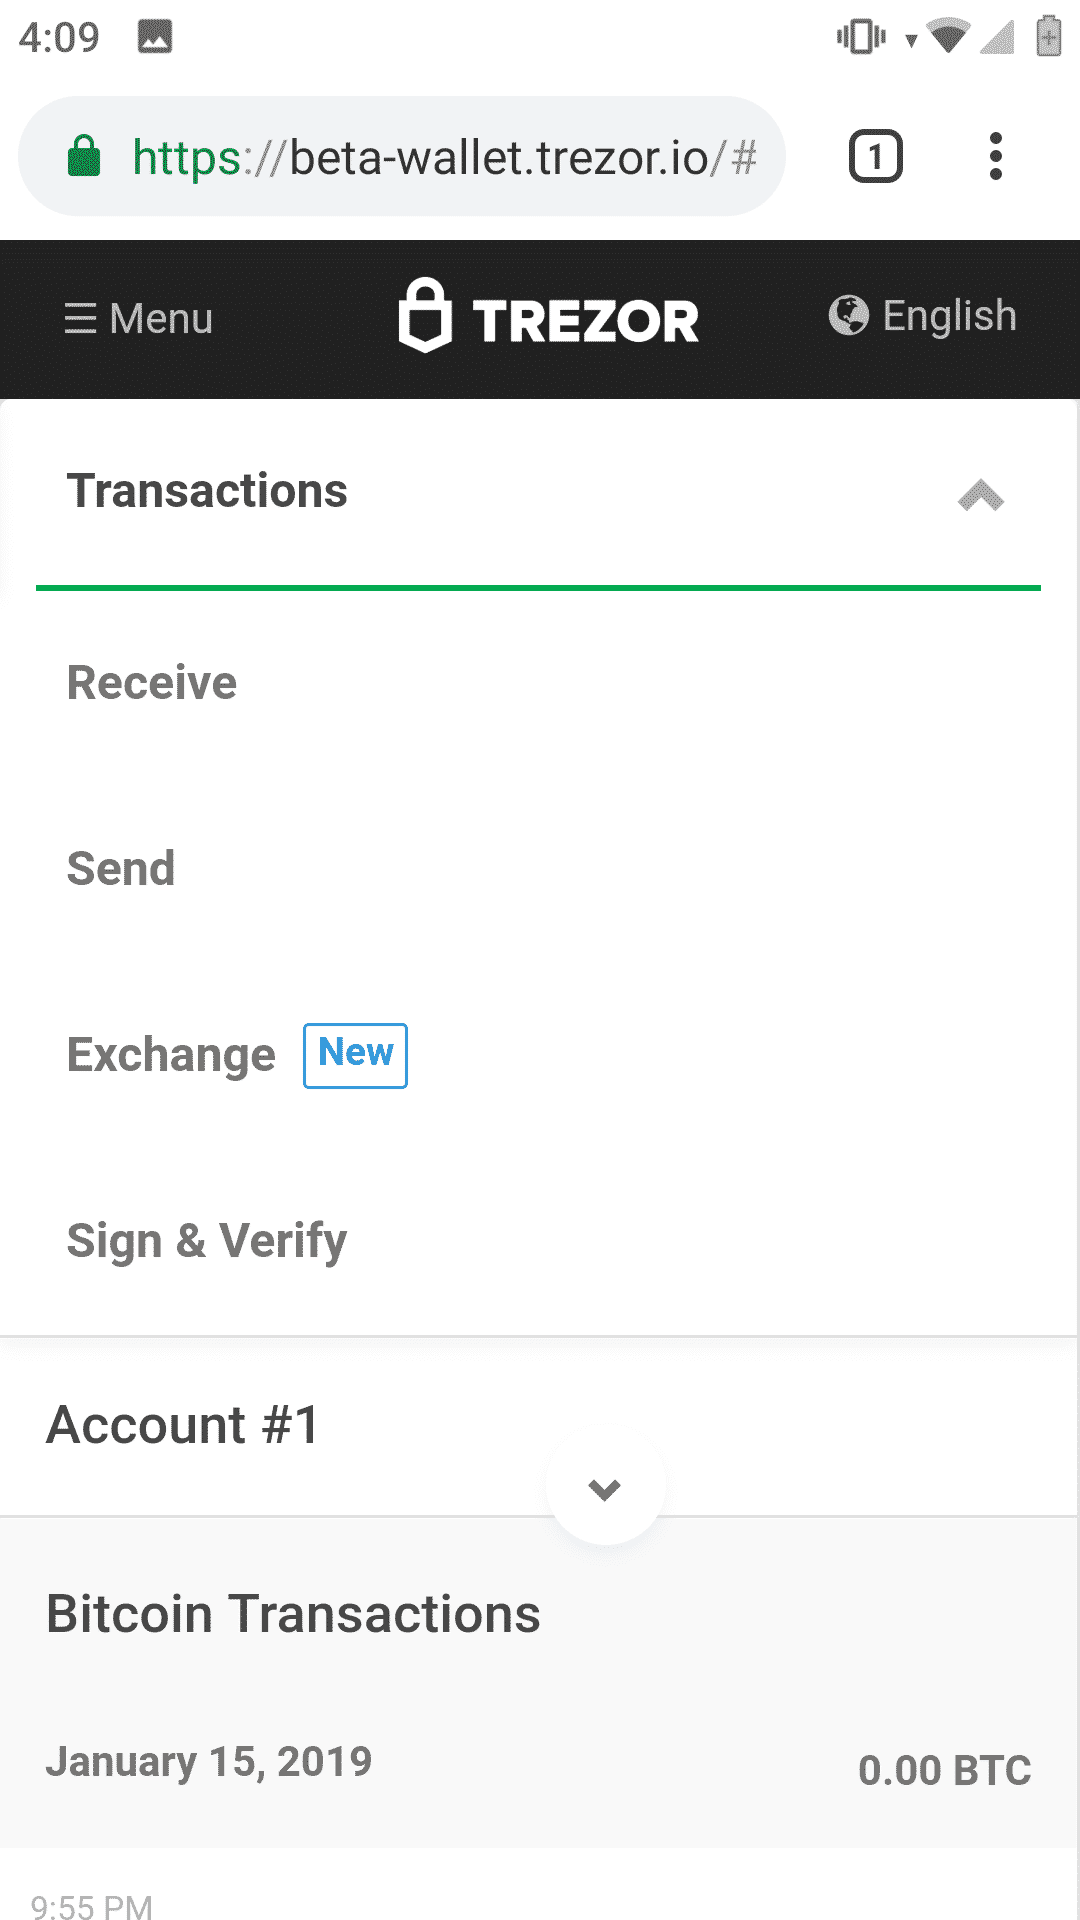
For investors who like to spend their crypto and not just hodl it, being able to use a Trezor with an Android phone is a huge advantage. Setting up a Trezor with a mobile phone is a relatively simple process and is done through the same WebUSB (Trezor Wallet) portal as is used on a PC. The steps to do so are as follows.- Open Google Chrome on your Android phone and then connect the Trezor to your Android phone. Navigate to the following webpage and follow the same steps as you would on a PC.
- In the top left corner is the menu button which allows users to switch between cryptocurrencies or accounts.
- Use the transaction dropdown menu to exchange, send or receive crypto. Transaction must be verified via the Trezor in the same way that they would be if using a PC.
Using a Trezor With Alternative Wallets
All Trezor devices are cross compatible with multiple software wallets. Some of those include Electrum, Exodus and MEW (My Ether Wallet). Here we'll show a brief guide on using your Trezor with two of these wallets. A full list of compatible wallets can be found here.Using Trezor with the Exodus Wallet
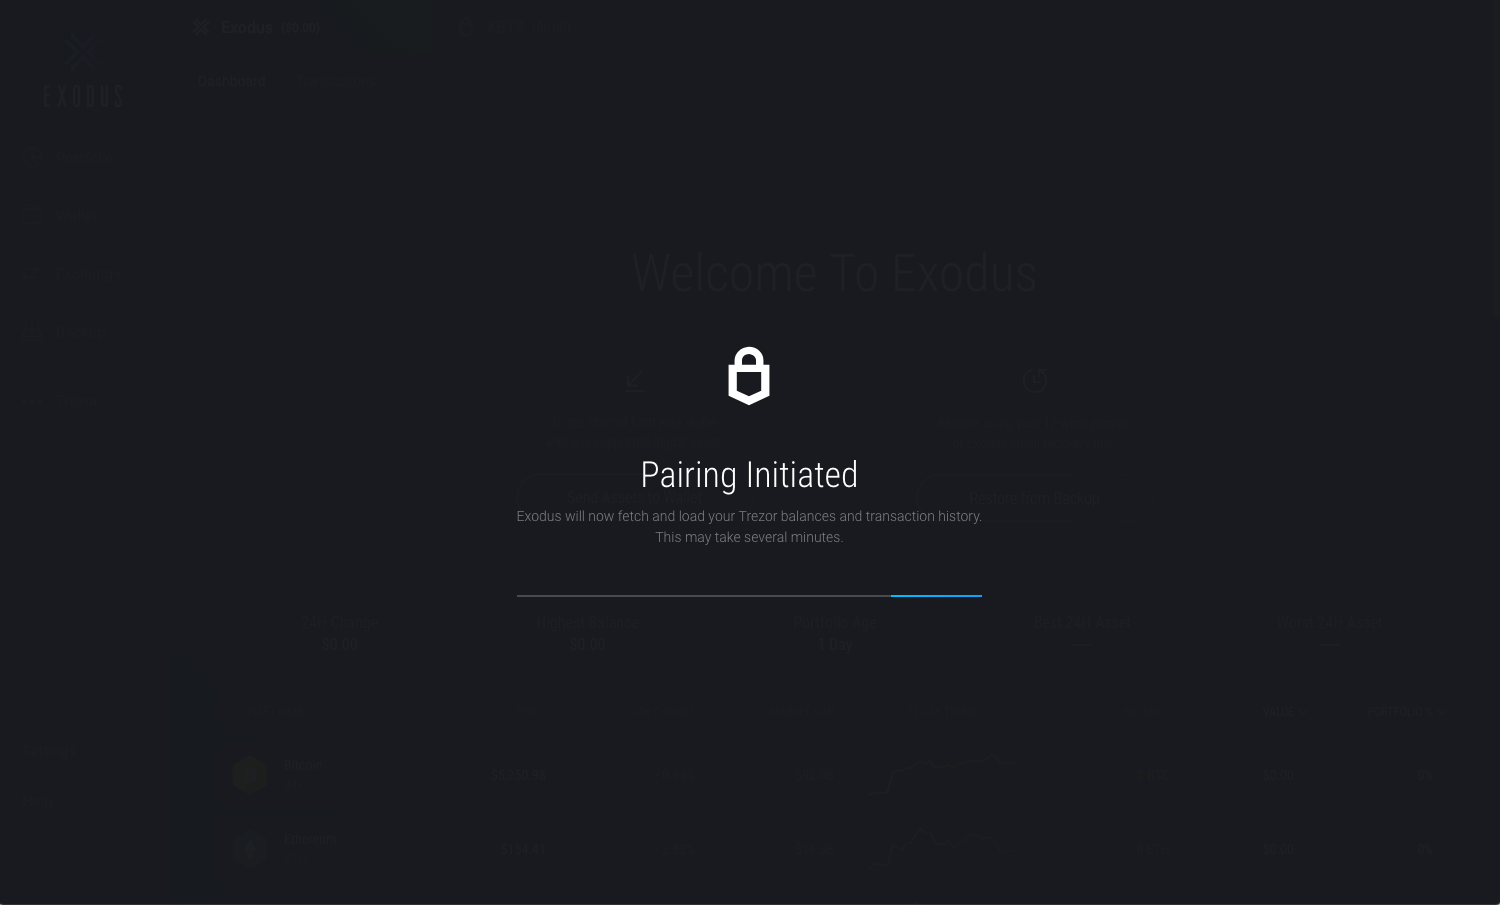
If you don't already have an Exodus wallet, you'll need to set up one. A tutorial is available here. Once the wallet is set up you can follow these steps.- Open the Exodus wallet
- Exit out of any other cryptocurrency programs, such as the WebUSB interface or Trezor Bridge
- Connect your Trezor and unlock it with your PIN
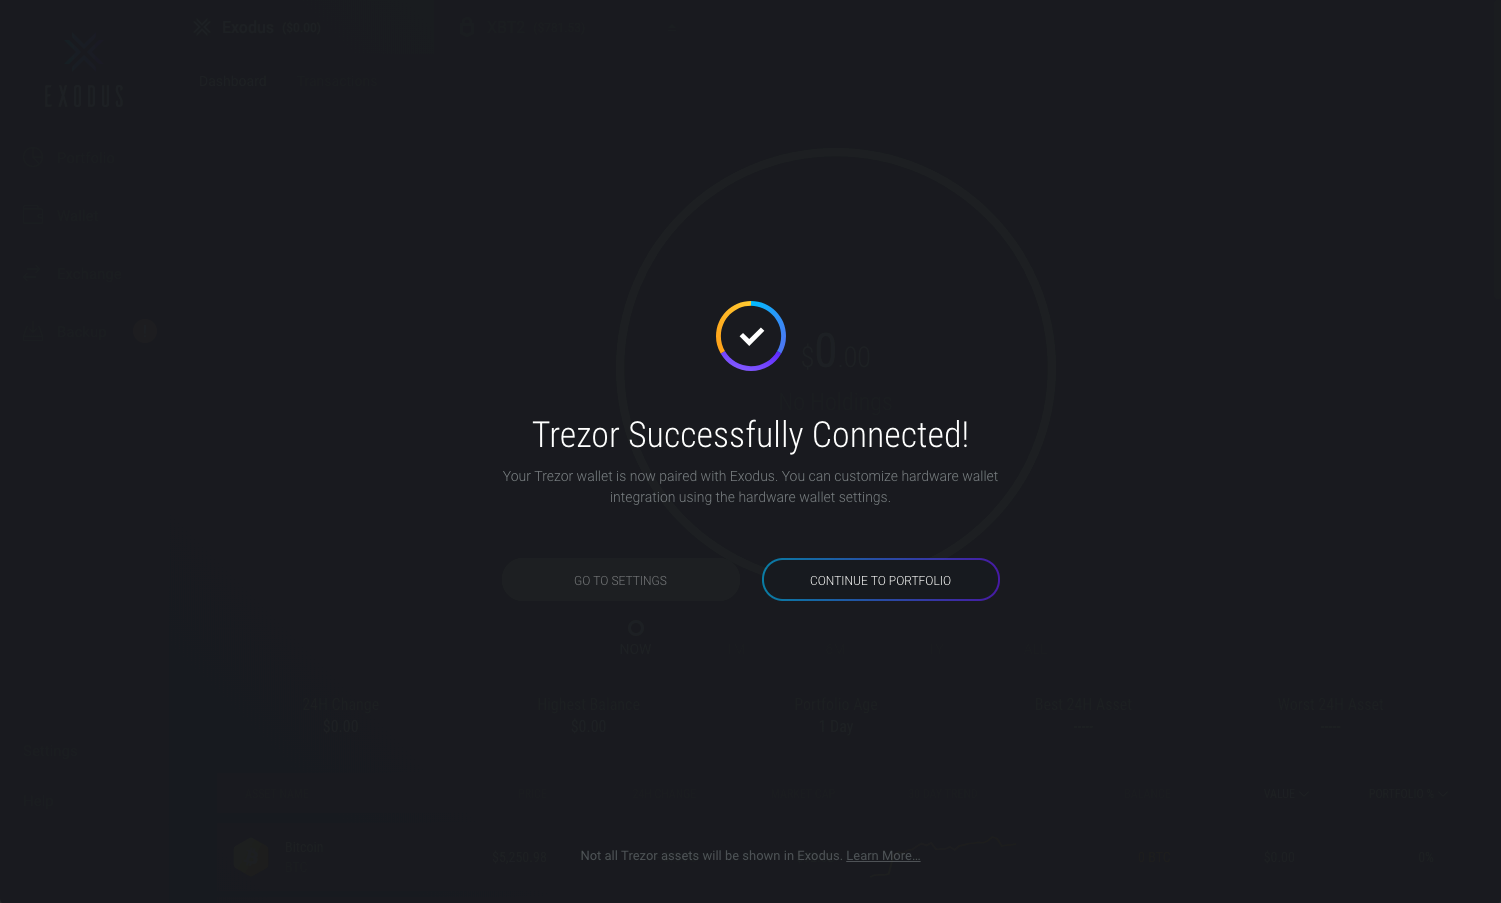
- Use Exodus to approve the connection between Trezor and the wallet
- The wallet is now paired and can be used to send and receive funds.
How to use Trezor with MEW
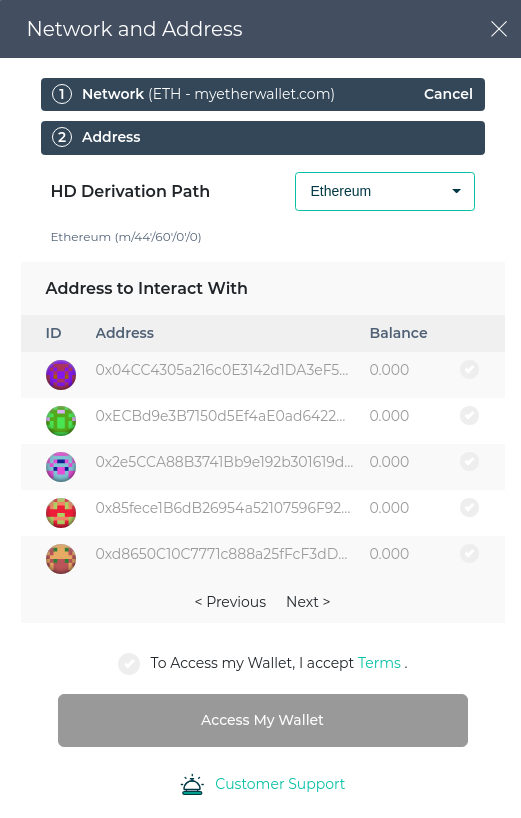
My Ether Wallet is a popular online wallet for Ethereum and ERC20 tokens. Conveniently it can be accessed using a hardware device like the Trezor. Here's how.- Navigate to www.MyEtherWallet.com
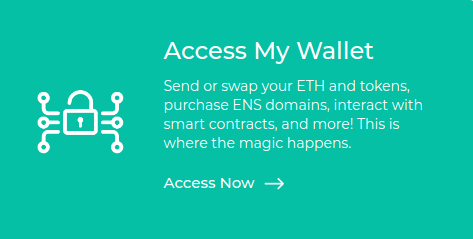
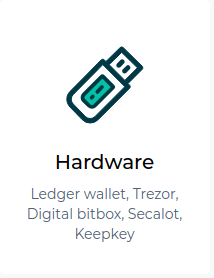
- Choose "Access My Wallet" and then click hardware wallet
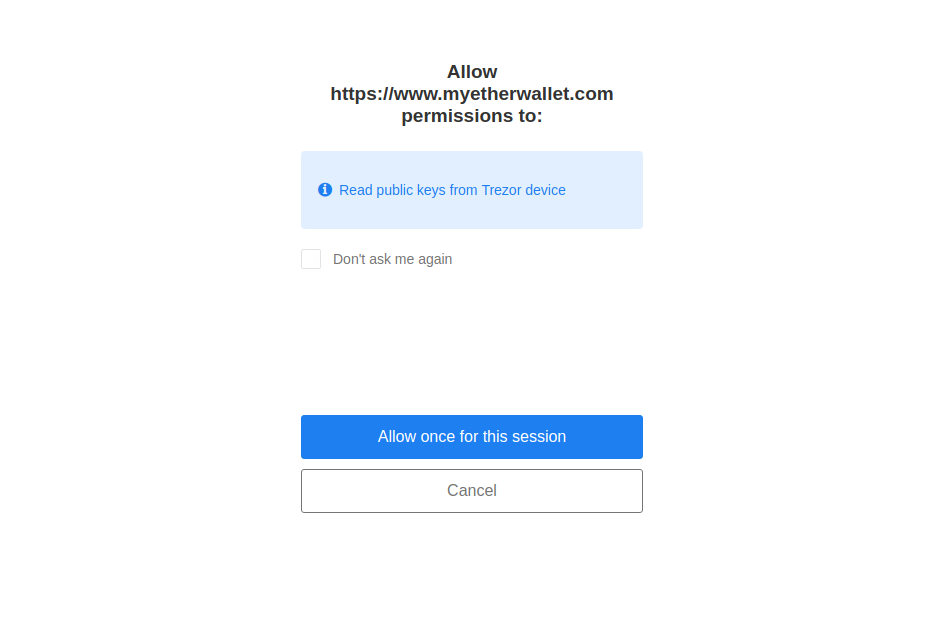
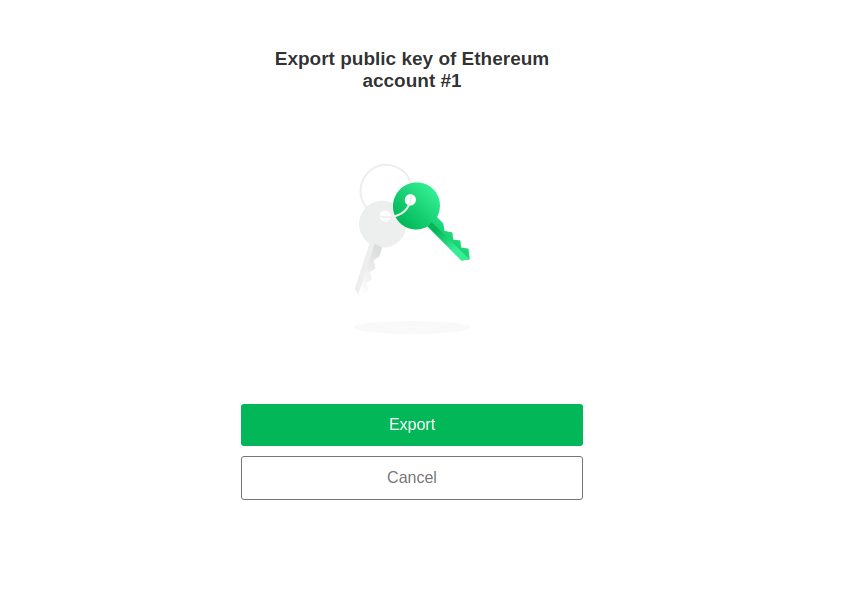
- When prompted click "Allow once for this session" so that MEW can read the public keys stored on your Trezor. This allows MEW to open your accounts and check their balance
At this stage MEW can now be used to send and receive Ethereum. All outgoing transactions must still be approved by pressing the physical button on the Trezor. For incoming transactions all ERC20 tokens can be sent directly to the Ethereum address. There is not a unique address for tokens.
Coins that are Supported by Trezor
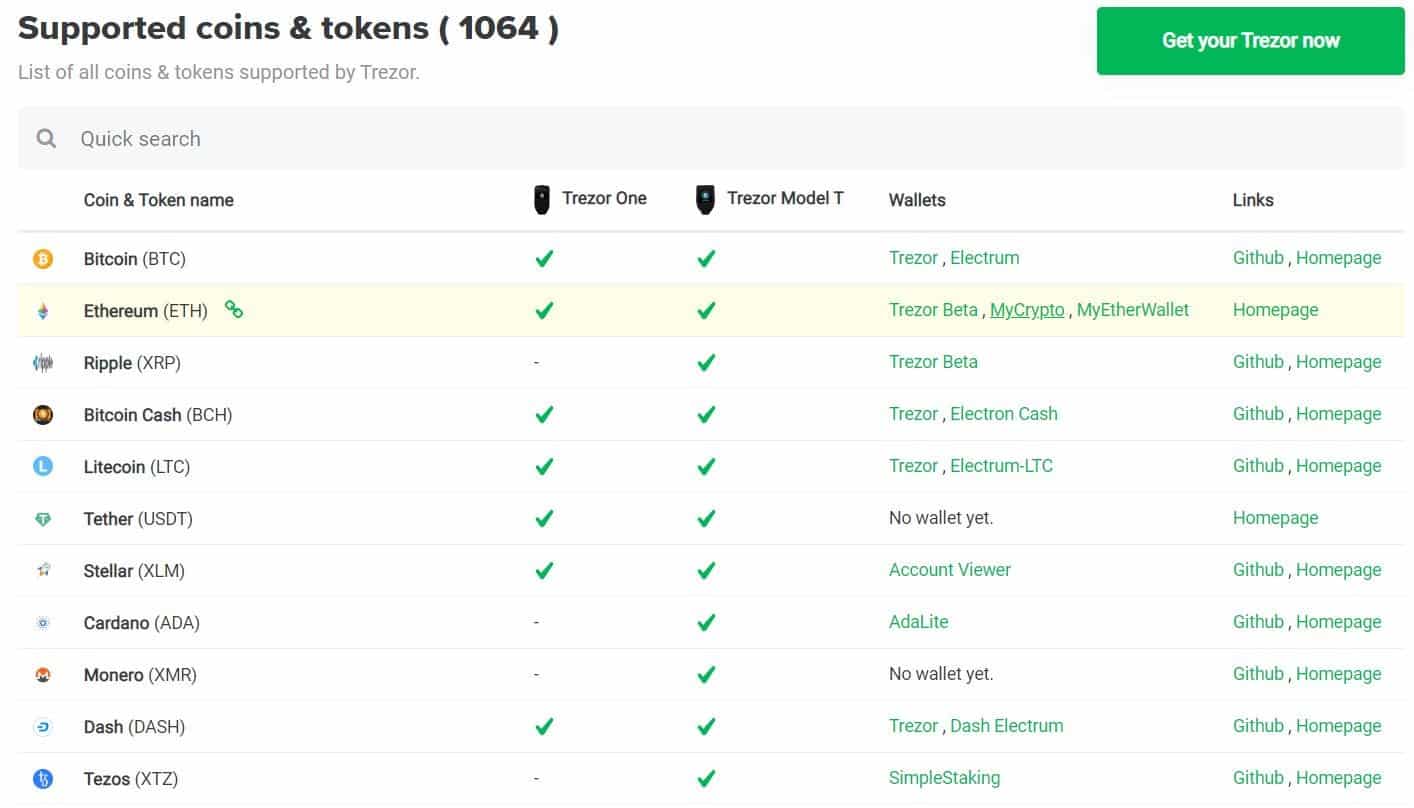
As of publication, Trezor claims that their devices work with as many 1,064 cryptocurrencies. For the most part the Model T and the Trezor ONE support the same coins. However, the following diagram does show that there are a couple of coins which only the Model T supports. For a full list of supported coins, please see here.